Along with all the light fixtures that I got when we remodeled our accounting firm's office, I got several cabinets as well. Of course they've just been sitting in the barn ever since. I was able to use the regular counter top ones, but the wall cabinet one had been sitting upside down in the way for a couple years and the one with a sink had also pretty much been collecting dust.
One issue I had to overcome was the fact that when we poured the slab I put the incoming water line near the front of the barn and put the drain line toward the back with the thought that I could just run it over there inside the barn after it was finished. The issue was that there was an 8" I-Beam right in the way and it was going to be a pain to run the water line around it. After checking with a coworkers husband who is a structural engineer who designs steel buildings, I decided to drill a hole through one of the I-Beams to run my water line through it.
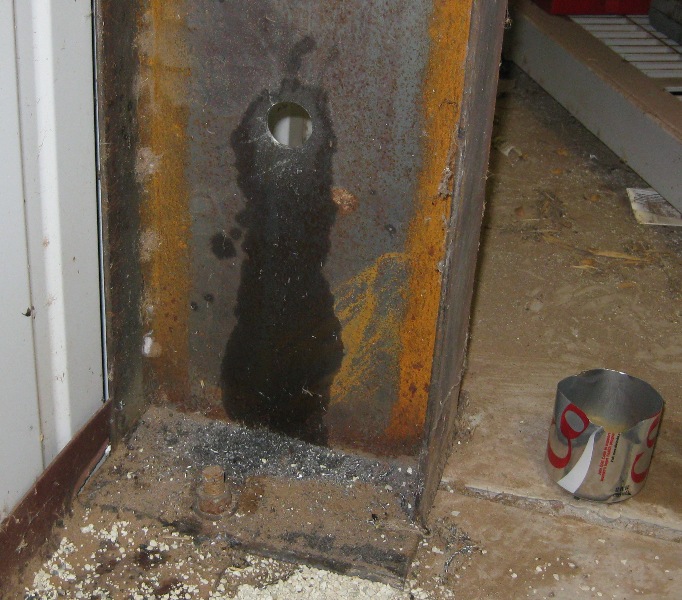
It doesn't look like much, but drilling a 1 inch hole through a 1/4" thick steel I-Beam isn't exactly easy. With the help of some oil to cool the bit and some patience, I was able to get it done without much issue though. I did have to enlarge the hole just a little bit with a dremel to get the 3/4" PVC to fit through it though. You can see some of the metal shavings under the hole in this picture.
 The next step was to actually hang the wall cabinet. The problem there is that the only structural support on the wall of the barn is the C Purling at 7 feet and 12 feet and some angle iron on the floor. To hold the cabinet I had to first put up something to hang it on. My simple solution to this is to cut 2x4's and screw them to the C Purling on the top and to the angle iron on the bottom. With self tapping metal screws it is a pretty easy process and the 2x4's seem to be pretty sturdy. Once I had the 2x4's up, it was a simple matter of holding the cabinet up while Cathy was helpful enough to put a few screws in.
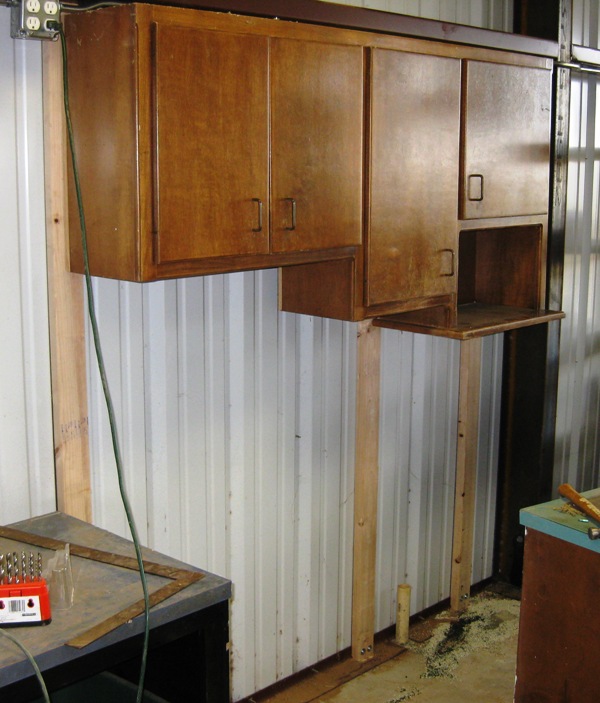 After 3 trips to Lowe's I finally had the parts I needed for the plumbing job. I have boxes of PVC fittings but they never seem to be the right ones. It was also a pain to find the right parts for the sink trap since at some point this sink had a disposal on it and not the normal extension.
 Here's the plumbing roughed in. (The kitty litter is from me spilling the cup of oil I was using to cool the drill bit when drilling the hole in the I-Beam).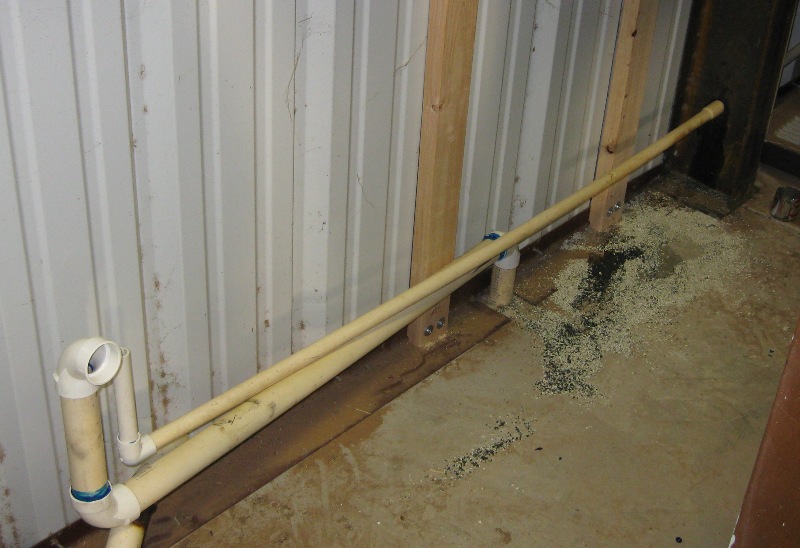 After that, just a few more fittings to install and I was up and running. One of the few projects were I actually got it done without a single leak!
I still need to figure out how I'm going to attach the lower counter cabinet to the wall though. It isn't perfectly stable and it will be a pain to retrieve items from behind it if they fall back there. Since the plumbing is running behind it I can't push it up against the wall, but I'm thinking some pressure treated plywood left over from my hunting blind project might do the trick.
Here's the finished project.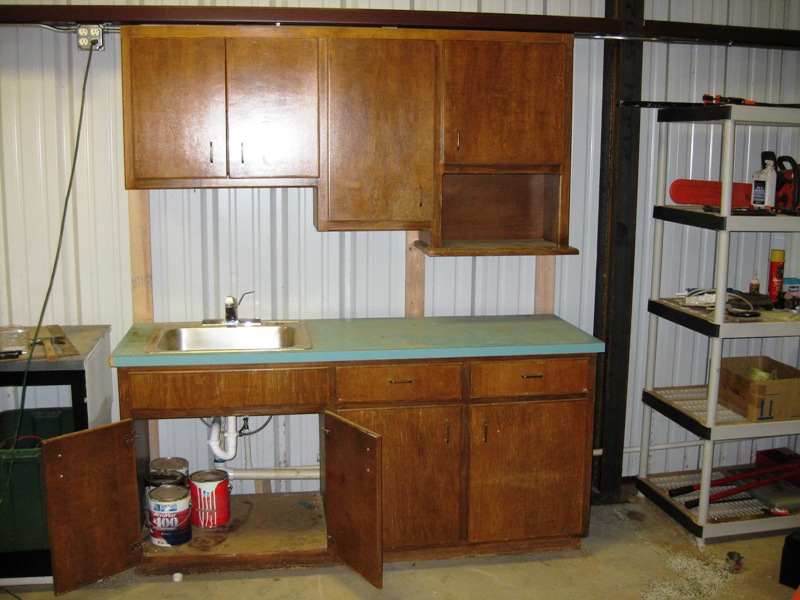 And of last but not least, a picture of the sink with water running!
 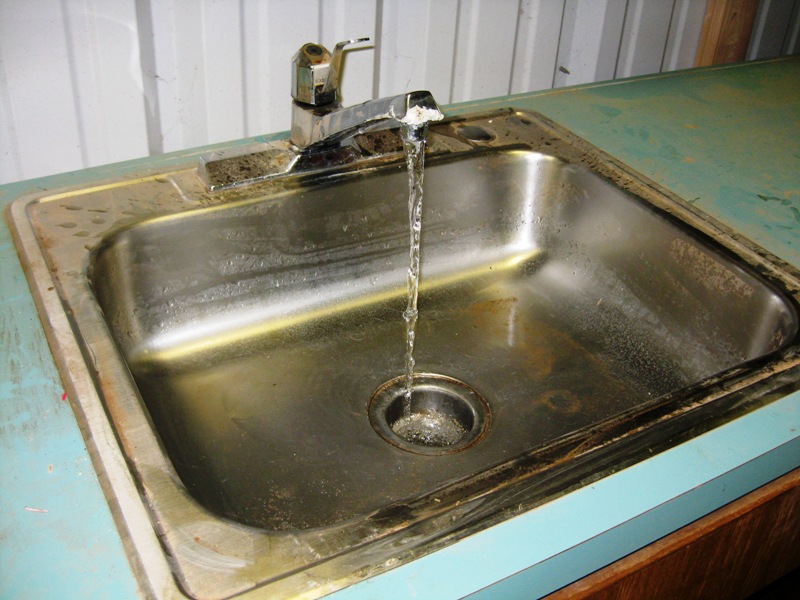 I still need to redo the top on a couple of the counters but I'm really nearing completion on the barn. I may start working on setting up a workshop area sometime down the road, but for now I think I'll just enjoy it the way it is for a while.
That's it for now. Nathan


No comments:
Post a Comment